Let’s talk about some caps. Ok, not just some caps, quite important caps.
I have been given a task last September to create two maintenance caps that used for elevation in SCA for two amazing people in the last moment, and I ran into two problems.
- I have no idea what a maintenance cap is. Yes, even though I have been elevated
- There is little to no information on how to make an ermine fur imitation.
The first problem is the cap of maintenance is strictly European tradition, and the cultures I research have no equivalent to it. So I got down a rabbit hole.
According to the Encyclopedia of Britannica: ” A cap of maintenance, i.e., a cap of crimson velvet turned up with ermine, is borne, as one of the insignia of the British sovereign, immediately before him at his coronation or on such state occasions as the opening of parliament. It is carried by the hereditary bearer, the marquess of Winchester, upon a white wand. A similar cap is also borne before the lord mayor of London. The origin of this symbol of dignity is obscure. It is stated in the New English Dictionary that it was granted by the pope to Henry VII. and Henry VIII. It is probably connected with the “cap of estate” or “dignity,” sometimes also styled “cap of maintenance,” similar to the royal symbol with two peaks or horns behind, which is borne as a heraldic charge by certain families. It seems originally to have been a privilege of dukes. Where it is used the crest is placed upon it, instead of on the usual wreath.”
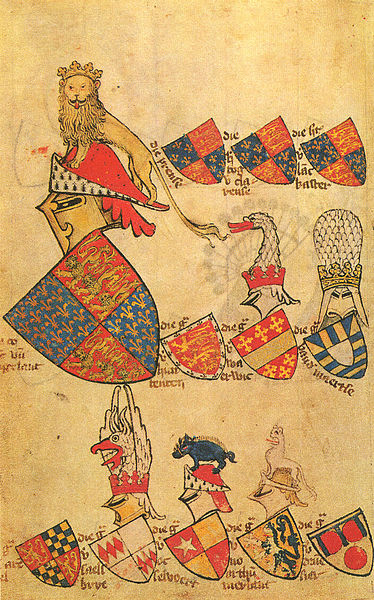
These caps are a traditional part of peer elevation for the Order of the Pelican and Order of teh LAurel in the Society of Creative Anachronism. They can be present on the banner and worn at events as a sign of the special recognition of the recipient. They are gorgeous. Below is a couple of period examples I was able to find:
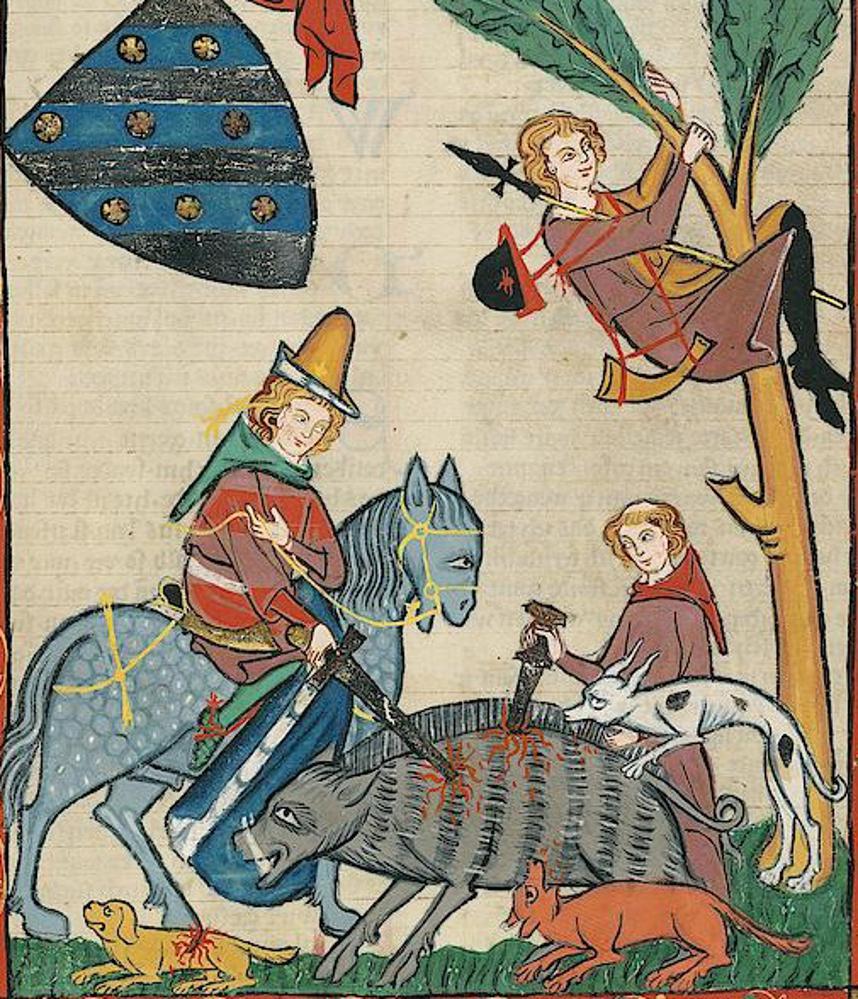
Große Heidelberger Liederhandschrift (Codex Manesse) — Zürich, ca. 1300 bis ca. 1340
I am experienced in making the hats and even sewing fur to them, but my main challenge was making this fur without harming any animals.
Process
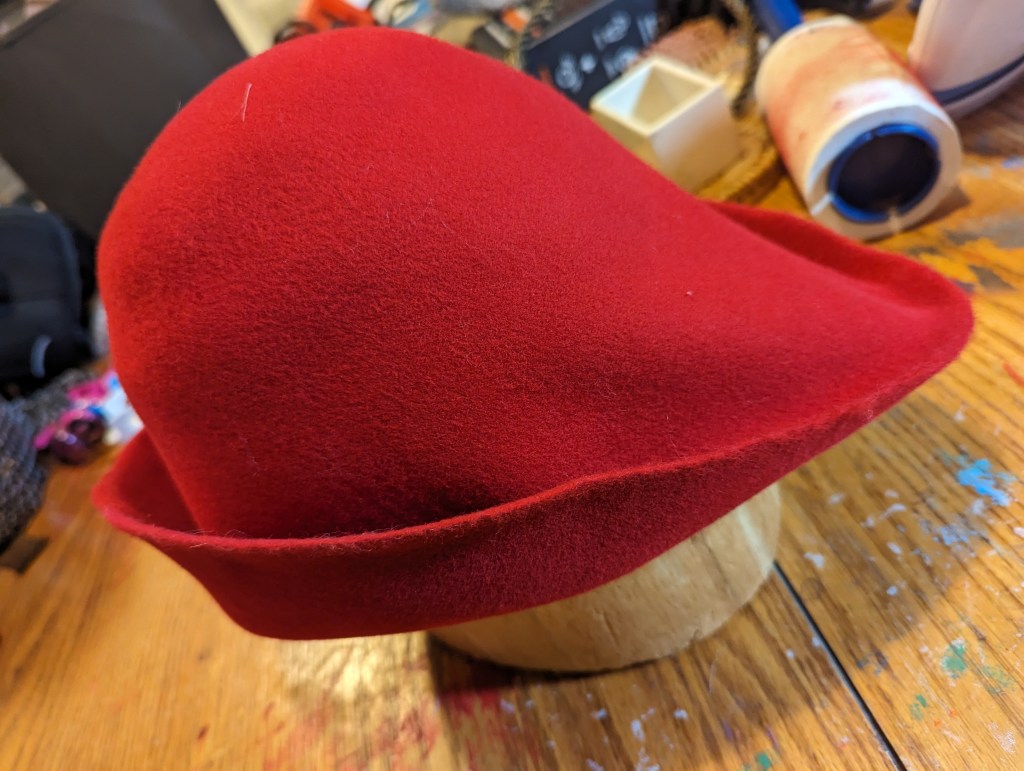
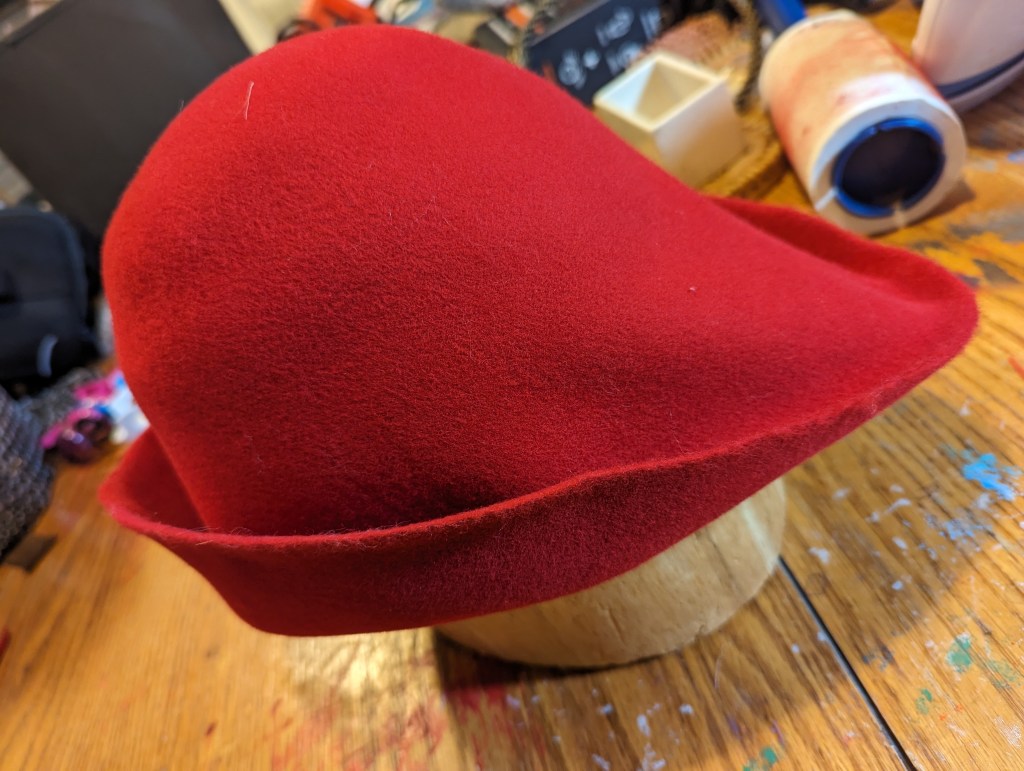
Firstly, I started with forming hats. I used premade and dyed wool felt hats, placed them on a mannequin head, and proceeded with my steamer to form the shape, pulling the front of the hat and then folding and steaming edges. Once the desired shape was formed, I cut the edges to make it even.


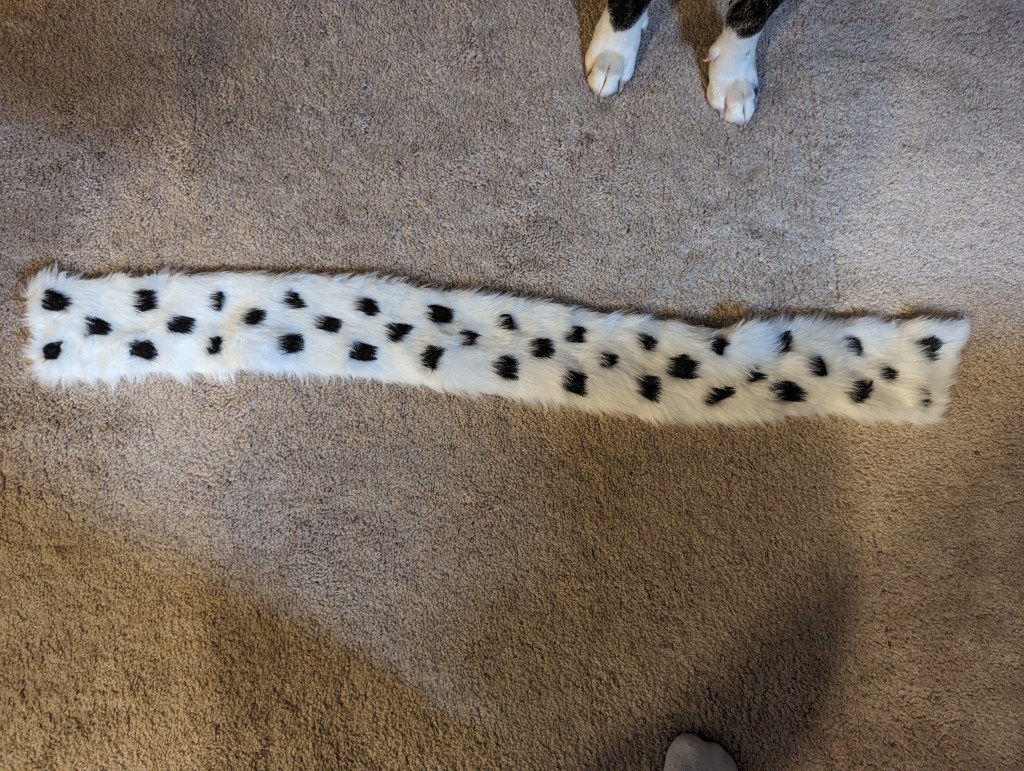
Then, the fun part is to make the fur. I have acquired several strips of fake white and place fur. White fur was the base, so I kept it the original size. I cut the black fur into 1-inch by 1-inch squares, trying to keep the hairs as long as possible. I used small thread scissors and ran them as close to the roots as feasible.

The fur will be EVERYWHERE. I have sneezed it for another two weeks.
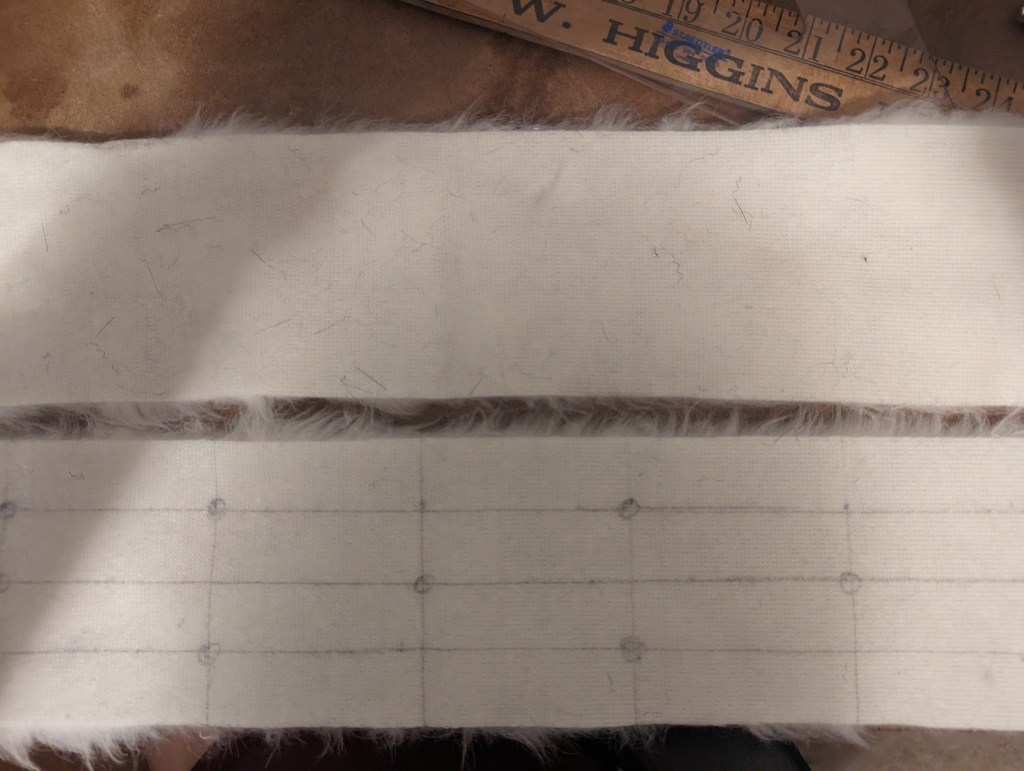
After that, I marked the white fur like the matrix shown above. The dots are the centers of 1*1 inch squares I cut out.
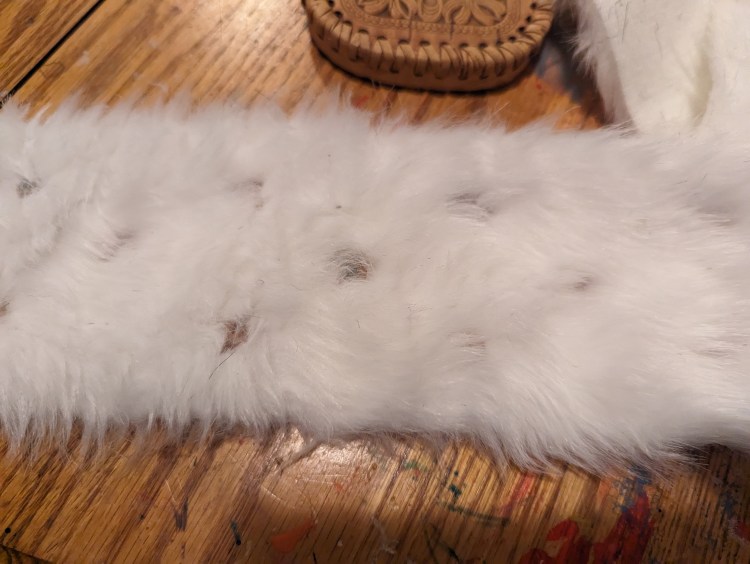
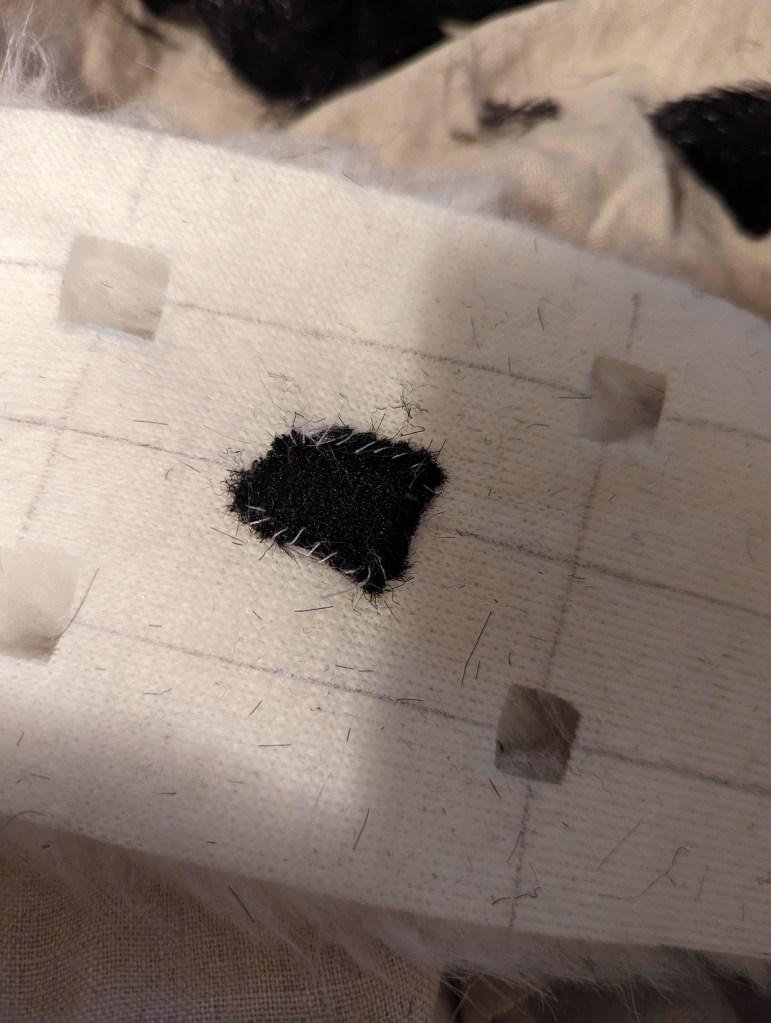
Now you have holes and random pieces. Guess what we do next? Stick pieces into the holes. Tideously sew the black squares into premade holes by hand. Any stitch you like. I used whipped stitch.
Correct the back fur pieces to make them look more pointy.
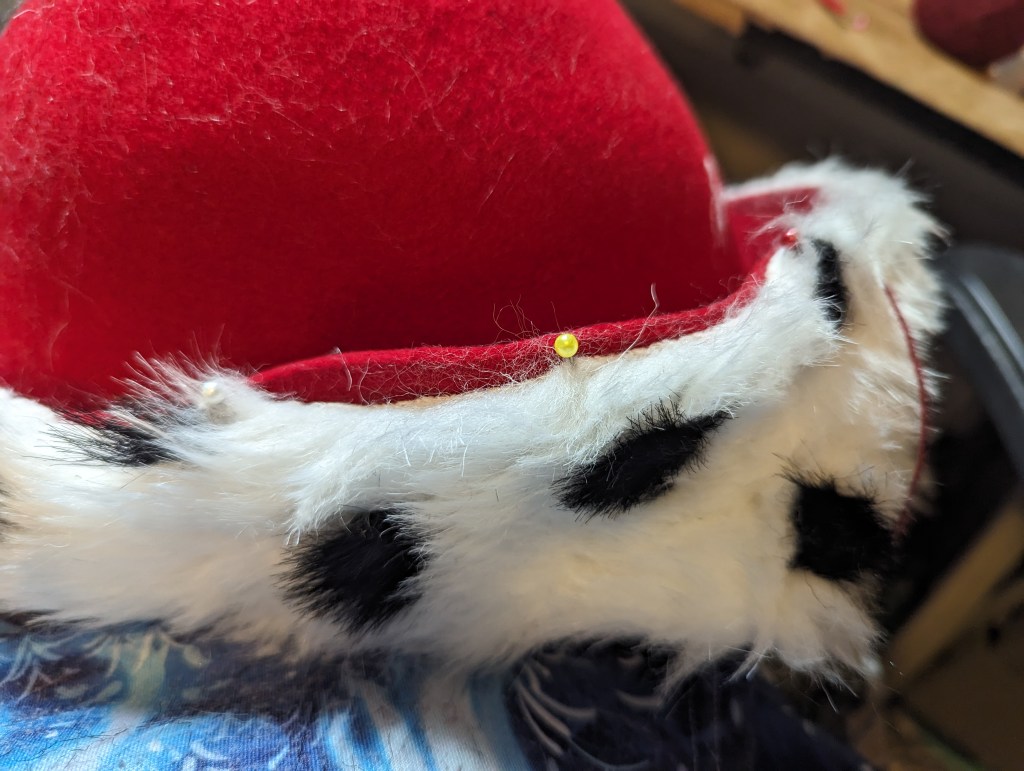
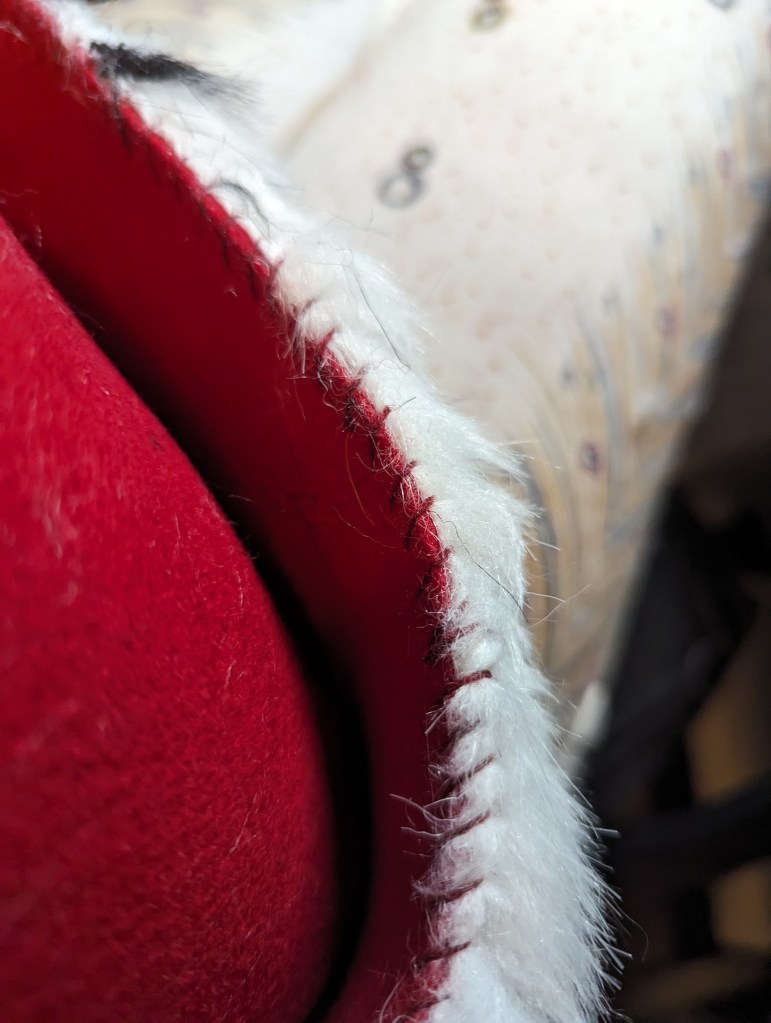
Now, to attach the fur to the hat. I pierced the wool hat and, using the same whipping stitch and matching wool thread, sewed it on the top and the bottom of the hat edge. I also used pins to fix the fur to teh hat and started from the back. Once I sew one side I cut extra fur and sew another side.

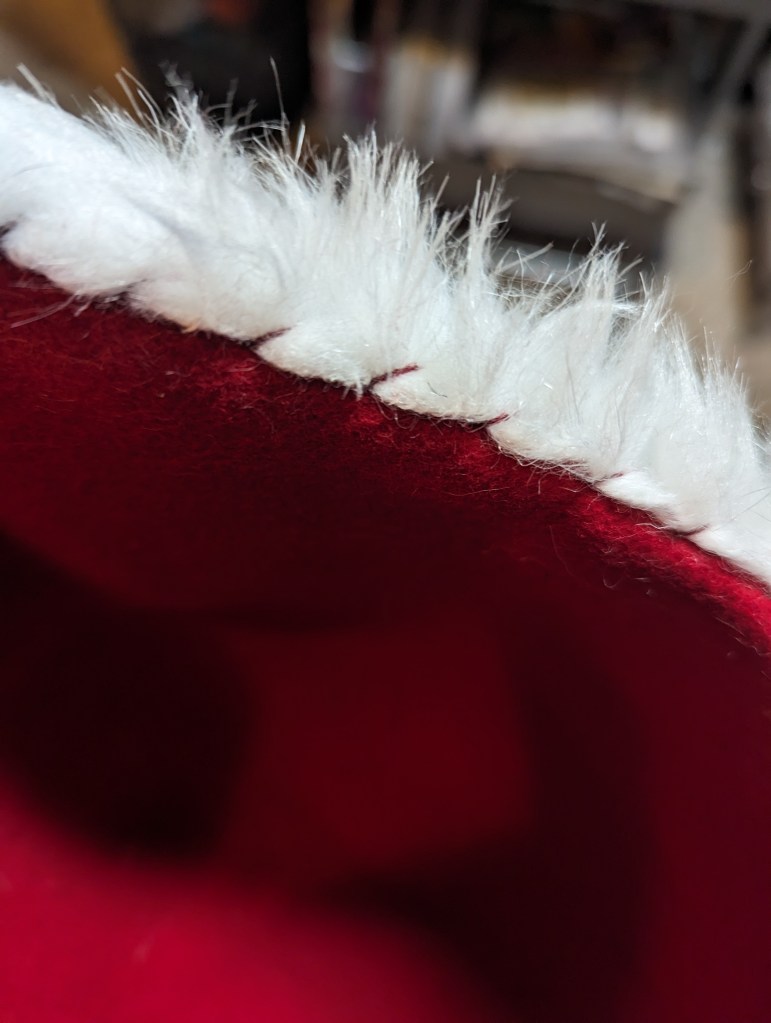

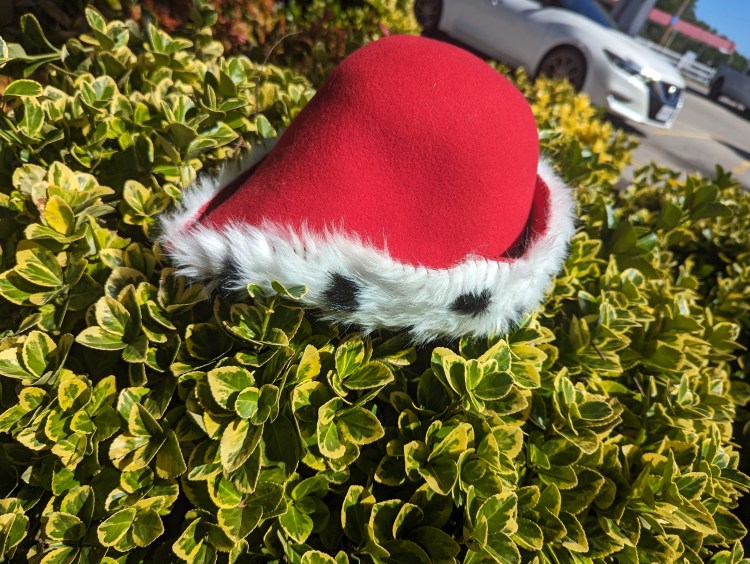
Tada! Three Nolan Batman movies later, and at 4 am in the morning, I fluffed the fur, and the beauties were ready.
Hope it helps.
